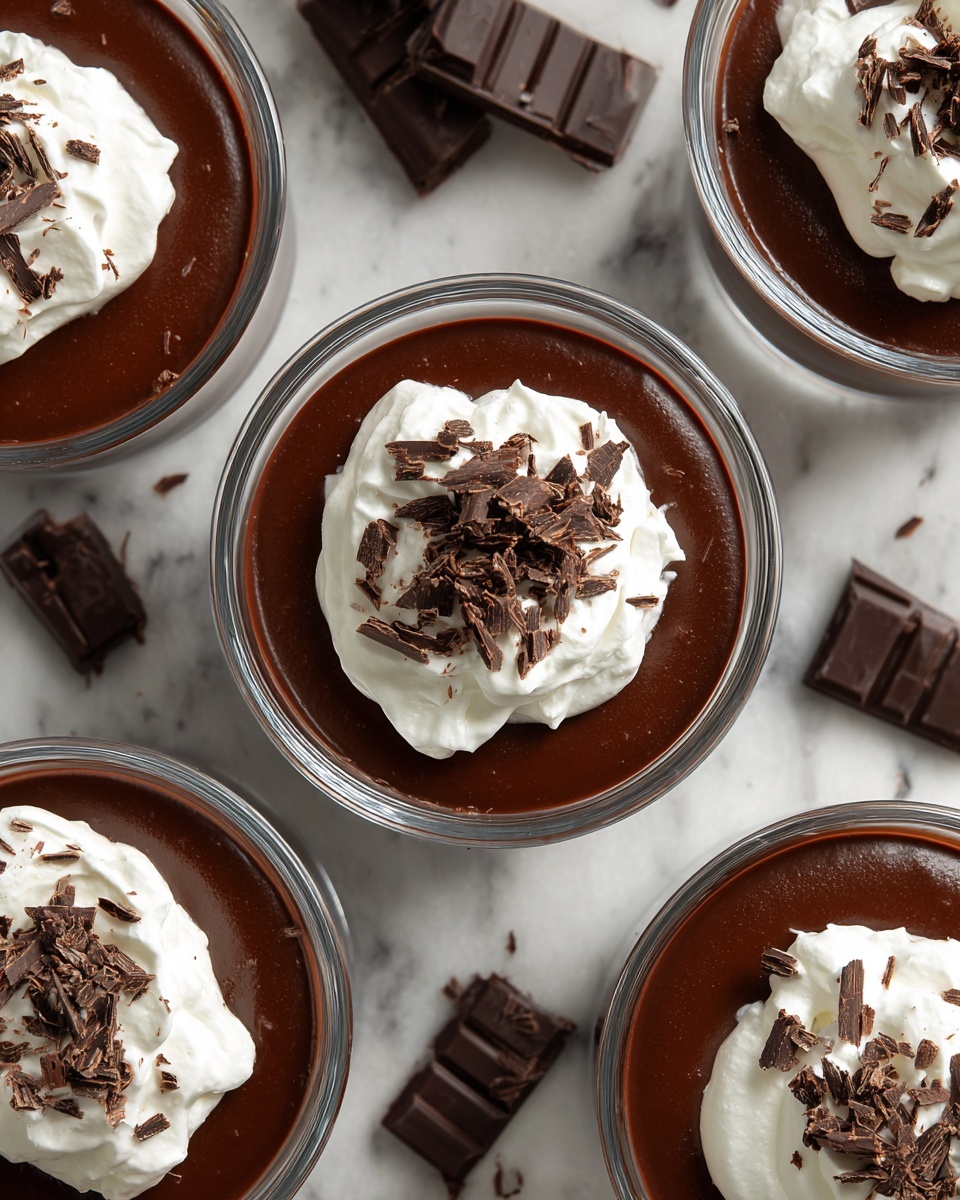
If you’ve ever craved a rich, luscious dessert but needed to avoid gluten, this Gluten-Free Chocolate Pudding Recipe is going to become your new best friend. It’s creamy, deeply chocolatey, with just the right hint of espresso and cinnamon to elevate every spoonful. Plus, this pudding holds the perfect silky texture without any graininess or heaviness, making it an irresistible treat whether you’re enjoying it as an everyday indulgence or serving it up for guests. Trust me, once you try this recipe, gluten-free chocolate pudding will no longer feel like a compromise but a total delight.
Ingredients You’ll Need
Simple, straightforward ingredients make this recipe not only easy to follow but also guarantee a pudding that’s bursting with flavor and perfect texture. Each item plays an essential role—from creating that creamy base to adding layers of rich chocolate and a hint of spice that makes every bite memorable.
- 2 cups whole milk: Provides the smooth, creamy foundation and balanced richness without being too heavy.
- 1 cup heavy cream: Adds luxurious creaminess to achieve that smooth mouthfeel.
- ½ cup granulated sugar: Sweetens the pudding just enough to compliment the chocolate’s natural bitterness.
- ¼ cup unsweetened cocoa powder: A must for deep chocolate flavor that isn’t too sweet.
- 3 tablespoons cornstarch: Thickens the pudding gently for that perfect creamy consistency.
- 1 tablespoon arrowroot starch: Works with cornstarch to help the pudding set smoothly without becoming gummy.
- ¼ teaspoon fine sea salt: Enhances the chocolate’s flavor, balancing sweetness beautifully.
- ¼ teaspoon ground cinnamon: Adds a subtle warmth that makes this pudding uniquely comforting.
- 1 tablespoon instant espresso powder: Boosts the chocolate depth with a slight hint of coffee richness.
- 3 large egg yolks: Create a velvety, custard-like texture that feels indulgent but light.
- 2 ounces dark chocolate, chopped (gluten-free): Melts into the pudding to bring an intense, glossy chocolate finish.
- 1 teaspoon vanilla bean paste: Infuses a fragrant sweetness and smooth complexity to tie all flavors together.
- 1 tablespoon unsalted butter, cut into small pieces: Gives the pudding a silky, shiny sheen for a gourmet touch.
How to Make Gluten-Free Chocolate Pudding Recipe
Step 1: Prepare the Dry Ingredients
The magic starts when you sift together the sugar, cocoa powder, cornstarch, arrowroot starch, salt, cinnamon, and espresso powder. This simple step is key to avoiding pesky lumps and ensuring your pudding has that silky, smooth texture that everyone dreams of. Taking a couple of minutes to sift really pays off in the end.
Step 2: Warm the Milk and Cream
In a heavy-bottomed saucepan, combine the whole milk and heavy cream, which create a luxuriously rich base. Gradually whisk in your sifted dry ingredients until perfectly smooth. Gently heating the mixture over medium heat while stirring constantly allows the starches to swell evenly and prevents scorching, resulting in an even texture free of clumps.
Step 3: Temper the Egg Yolks
To avoid scrambled eggs, slowly ladle about half a cup of the warm milk mixture into the beaten egg yolks while whisking vigorously. This crucial step tempers the yolks, warming them gradually to prevent curdling and ensuring your pudding remains velvety and smooth.
Step 4: Thicken the Pudding
Return the tempered yolk mixture to the saucepan and keep stirring over medium heat until the pudding thickens and coats the back of a spoon or reaches around 170°F. Stirring constantly activates the starches and prevents lumps, so patience here creates that irresistibly creamy consistency.
Step 5: Add Chocolate, Butter, and Vanilla
Remove the pan from heat and stir in the chopped dark chocolate, butter, and vanilla bean paste. This combination melts into the pudding perfectly, adding depth, shine, and richness that transform it into a decadent dessert everyone will love.
Step 6: Strain for Ultimate Smoothness
Pour the pudding through a fine-mesh sieve into a clean bowl, pressing gently to catch any solids. This extra step guarantees your Gluten-Free Chocolate Pudding Recipe is completely smooth and silky—just like you’d expect from a professional dessert!
Step 7: Chill Until Set
Cover the pudding’s surface with plastic wrap to prevent a skin from forming while it cools. Refrigerate for at least 2 hours or overnight for best results. This chilling time allows the pudding’s flavors to deepen and the texture to firm up to that perfect spoonable state.
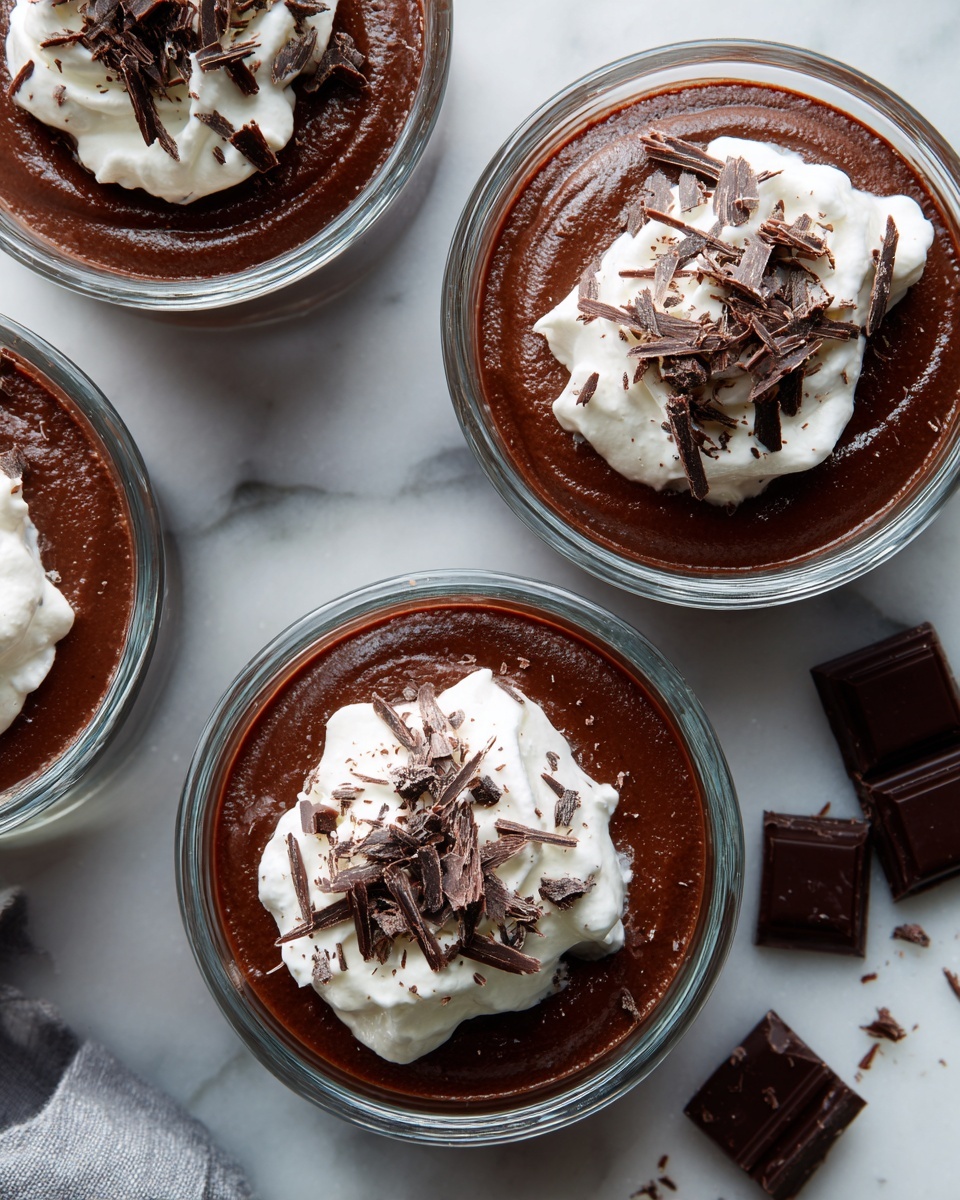
How to Serve Gluten-Free Chocolate Pudding Recipe
Garnishes
Simple garnishes can elevate your pudding instantly: a dollop of whipped cream, a sprinkle of shaved dark chocolate, or some fresh raspberries add contrast in texture and flavor while making it look irresistible on the plate. A tiny dusting of cinnamon or espresso powder can also bring out the flavors beautifully.
Side Dishes
Pair your pudding with crisp almond biscotti or some fresh fruit for balance and a variety of mouthfeel. If you want to keep it light, a simple green tea or a mint infusion makes the ideal warming companion.
Creative Ways to Present
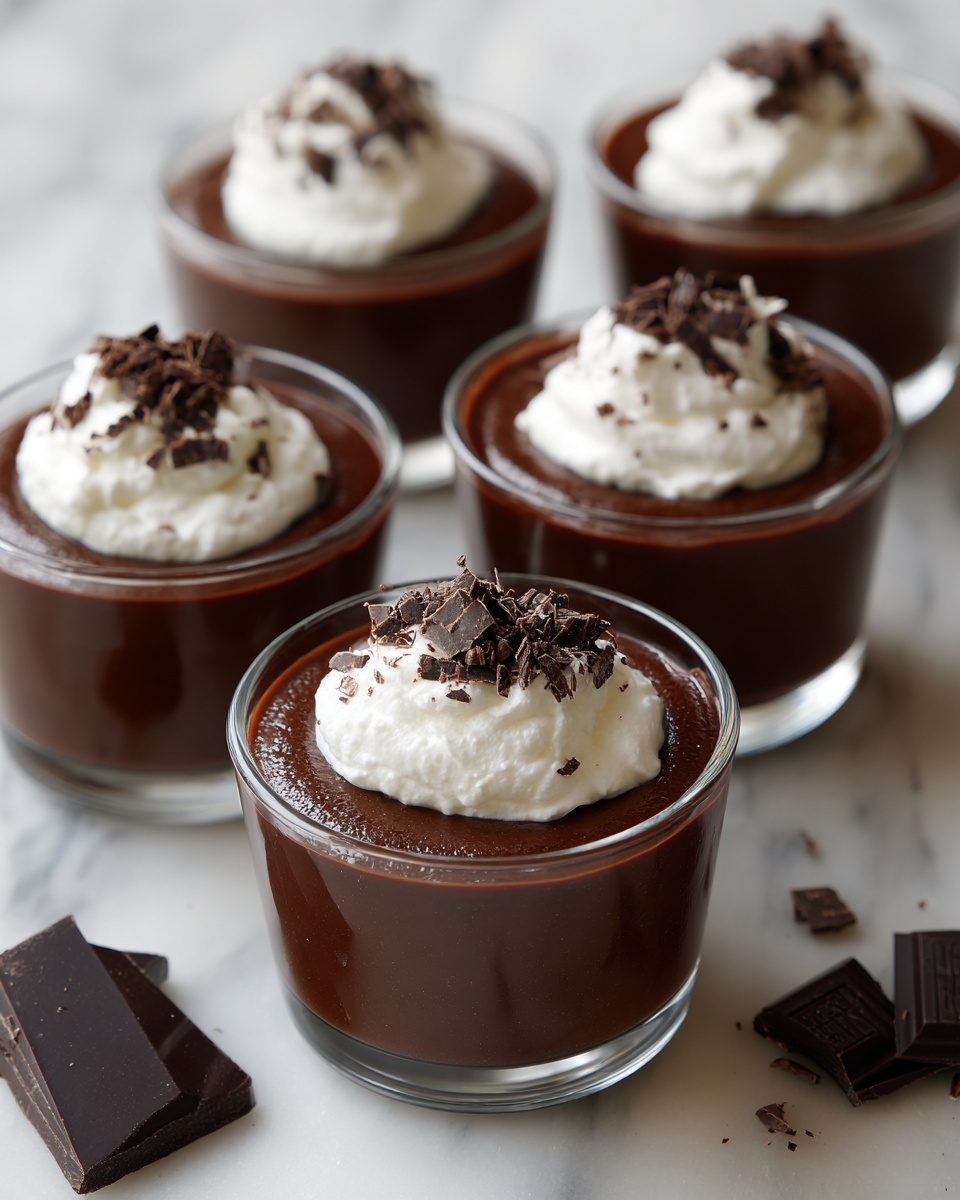
Serve your pudding in elegant glass jars or vintage teacups for a charming touch. Layer it with crushed gluten-free cookies or granola for a parfait effect that adds crunch and interest. You can even pipe it into mini tart shells for bite-sized delights perfect for gatherings.
Make Ahead and Storage
Storing Leftovers
Any leftover pudding should be kept in an airtight container in the refrigerator. It stays fresh and delicious for up to 3 days, making it perfect for an easy-to-grab dessert on busy days.
Freezing
While this pudding freezes well, the texture can slightly change upon thawing. To freeze, place it in freezer-safe containers and thaw overnight in the fridge before serving. Give it a quick whisk to smooth it out if needed.
Reheating
If you prefer your pudding warm, gently reheat it in a saucepan over low heat, stirring constantly to avoid scorching. Reheat just until warm since overheating can alter the silky texture. For a quick microwave option, heat in short bursts, stirring in between.
FAQs
Can I use a milk substitute for this pudding?
Absolutely! You can swap whole milk and heavy cream for coconut milk or almond milk, but keep in mind the flavor and creaminess might be a little different. You might want to adjust sweetness or thickness accordingly.
Is arrowroot starch necessary?
Arrowroot starch works alongside cornstarch to create the perfect pudding texture without gluten. While you can try just cornstarch, using both ensures a smoother, less gummy result.
Can I make this pudding vegan?
This recipe relies on egg yolks and dairy for its texture and richness, so converting it to vegan requires substantial modifications. However, there are vegan pudding recipes specifically designed with plant-based milks and thickeners that you might enjoy exploring.
Why is it important to temper the eggs?
Tempering warms the egg yolks gradually to prevent them from cooking too quickly and scrambling when added to the hot liquid. This ensures your pudding stays silky and smooth with no lumps.
How long can I prepare this pudding in advance?
You can make this pudding up to 2 days in advance. It actually tastes even better after chilling longer, giving all the flavors time to meld beautifully.
Final Thoughts
This Gluten-Free Chocolate Pudding Recipe perfectly combines simplicity, rich flavors, and flawless texture to create a dessert that feels like a special treat every time. Whether you’re new to gluten-free cooking or simply a chocolate lover looking for a comforting dessert, this recipe will quickly become a staple in your kitchen. I can’t wait for you to try it and enjoy every creamy, chocolatey bite!
Print
Gluten-Free Chocolate Pudding Recipe
- Prep Time: 15 minutes
- Cook Time: 15 minutes
- Total Time: 2 hours 30 minutes
- Yield: 4 servings
- Category: Dessert
- Method: Stovetop
- Cuisine: American
- Diet: Gluten Free
Description
This rich and creamy Gluten-Free Chocolate Pudding is a luscious dessert made with whole milk, heavy cream, and dark chocolate, thickened with cornstarch and arrowroot starch. Infused with espresso powder and a hint of cinnamon, it offers a sophisticated chocolate flavor while being completely gluten-free. The pudding is cooked gently on the stovetop to a silky smooth texture and chilled to perfection for a decadent treat.
Ingredients
Dry Ingredients
- ½ cup granulated sugar
- ¼ cup unsweetened cocoa powder
- 3 tablespoons cornstarch
- 1 tablespoon arrowroot starch
- ¼ teaspoon fine sea salt
- ¼ teaspoon ground cinnamon
- 1 tablespoon instant espresso powder
Dairy & Eggs
- 2 cups whole milk
- 1 cup heavy cream
- 3 large egg yolks
- 1 tablespoon unsalted butter, cut into small pieces
Other Ingredients
- 2 ounces dark chocolate, chopped (gluten-free)
- 1 teaspoon vanilla bean paste
Instructions
- Sift Dry Ingredients: Combine the granulated sugar, unsweetened cocoa powder, cornstarch, arrowroot starch, fine sea salt, ground cinnamon, and instant espresso powder in a medium bowl. Sift them together to eliminate any lumps, ensuring a smooth pudding texture.
- Heat Milk and Cream Mixture: Pour the whole milk and heavy cream into a heavy-bottomed saucepan. Gradually whisk in the sifted dry mixture until fully combined and smooth. Place over medium heat, stirring constantly until small bubbles appear around the edges, approximately 5 to 7 minutes, allowing starches to swell without scorching.
- Temper the Egg Yolks: In a separate bowl, vigorously whisk the egg yolks. Once the milk mixture begins to simmer, slowly ladle out ½ cup of the hot liquid into the yolks while whisking continuously. This gentle warming prevents curdling and promotes a smooth pudding.
- Combine and Thicken: Pour the tempered egg yolk mixture back into the saucepan. Continue cooking over medium heat, stirring constantly, until the pudding thickens and coats the back of a spoon or reaches around 170°F on an instant-read thermometer, about 2 to 3 minutes.
- Add Chocolate and Flavorings: Remove the pan from the heat. Stir in the chopped dark chocolate, unsalted butter, and vanilla bean paste until everything is melted and well incorporated, giving the pudding a shiny, silky finish.
- Strain the Pudding: Pour the pudding through a fine-mesh sieve into a clean bowl to remove any solids. Use a spatula to press the mixture through the sieve, ensuring an ultra-smooth texture.
- Chill: Cover the surface of the pudding directly with plastic wrap to prevent a skin from forming. Refrigerate for at least 2 hours or overnight until fully set and ready to serve.
Notes
- Use high-quality dark chocolate that is certified gluten-free for best flavor and safety.
- Tempering the egg yolks is essential to avoid scrambled eggs in the pudding.
- If you don’t have vanilla bean paste, pure vanilla extract can be used instead.
- The pudding can be stored in the refrigerator for up to 3 days.
- For a dairy-free version, substitute whole milk and cream with coconut milk and coconut cream, adjusting thickness accordingly.


