This Heart-Shaped Red Velvet Cheesecake is everything a dessert should be—rich, creamy, beautifully vibrant, and downright swoon-worthy. With its striking red velvet base and luscious cheesecake layer, this treat isn’t just perfect for Valentine’s Day—it’s a showstopper for any time you want to impress with minimal effort. It’s surprisingly easy to pull off, yet it tastes like something you’d order at a fancy bakery. Whether you’re baking for a loved one or just treating yourself (yes, you absolutely should), this dessert is here to make your day sweeter.
Why You’ll Love This Recipe
- Perfect for Special Occasions: The heart shape and the vibrant red color make it an ideal dessert for romantic dinners, anniversaries, or holidays.
- Rich and Decadent: The soft cocoa flavor of the red velvet pairs beautifully with the tangy, creamy cheesecake topping.
- Simple Steps: Despite looking fancy, this cheesecake comes together with just a few straightforward steps and pantry staples.
- Crowd-Pleaser: Who can say no to cheesecake and red velvet? This combo is universally loved and sure to vanish quickly.
Ingredients You’ll Need

Here’s what you’ll need to bring this beauty to life:
- All-Purpose Flour: Provides structure for the red velvet base. Make sure to spoon and level for best results.
- Unsweetened Cocoa Powder: A touch of cocoa gives the red velvet its signature subtle chocolate flavor.
- Baking Soda and Vinegar: This classic red velvet combo gives the cake its soft crumb and light rise.
- Granulated Sugar: Sweetens both the cake and the cheesecake layers.
- Buttermilk: Keeps the red velvet moist and tender. If you don’t have it, a mix of milk and lemon juice or vinegar works too.
- Vegetable Oil: Makes the cake extra moist and helps it stay that way for days.
- Eggs: Bind the cake and give the cheesecake structure.
- Red Food Coloring: Essential for that bold red velvet color—gel food coloring works best for vibrancy without thinning the batter.
- Cream Cheese: The star of the cheesecake layer—use full-fat, softened cream cheese for ultimate creaminess.
- Vanilla Extract: Enhances both the red velvet and cheesecake flavors with warm sweetness.
- Sour Cream: Adds tang and smooth texture to the cheesecake.
Variations
Want to switch things up? Here are some delicious twists:
- Chocolate Crust: Replace the red velvet layer with a chocolate cookie crust for a no-bake option.
- Mini Cheesecakes: Use a muffin tin or heart-shaped silicone molds to make adorable single-serve versions.
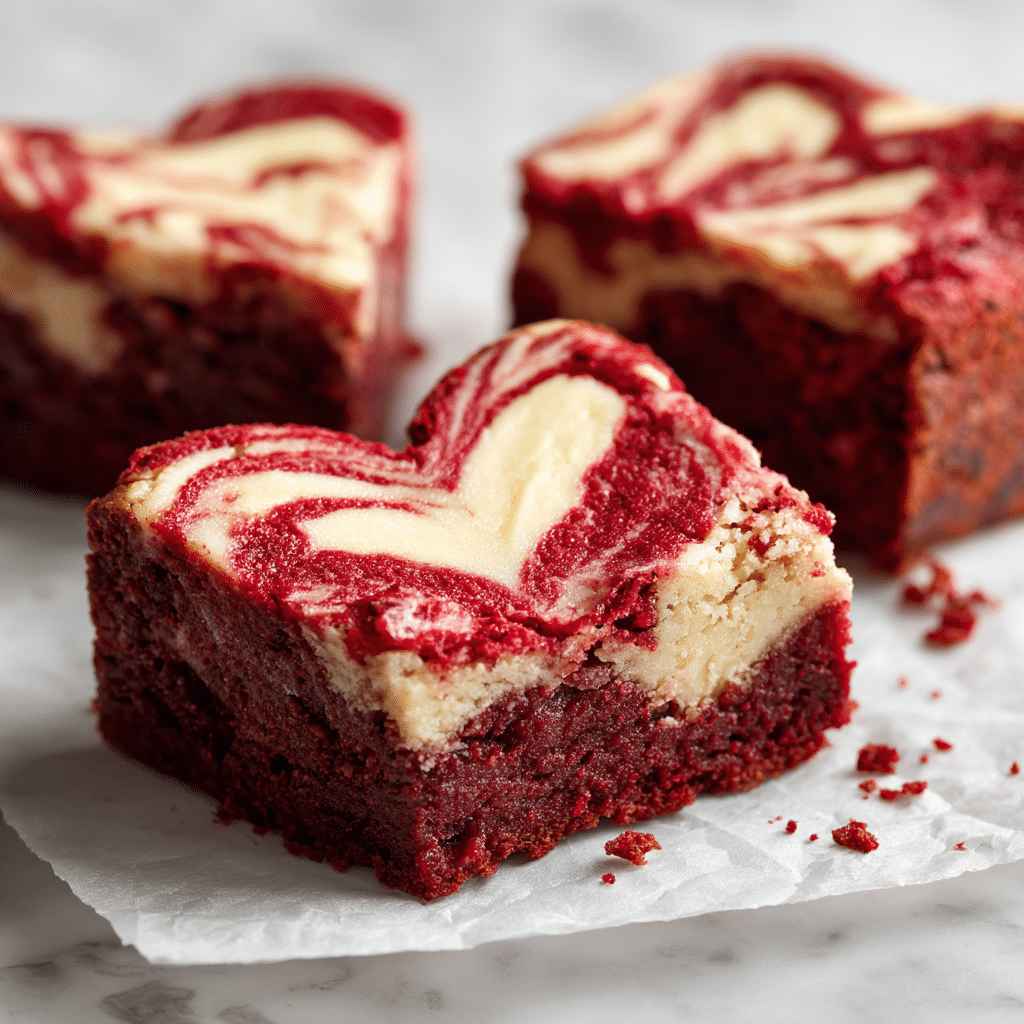
- Swirl Version: Swirl some of the red velvet batter into the cheesecake layer for a marbled look.
- Fruit Topping: Add fresh strawberries, raspberries, or a berry compote on top for a fruity contrast.
How to Make the Delicious Heart-Shaped Red Velvet Cheesecake
Step 1: Prep the Pan
Preheat your oven to 325°F. Line a heart-shaped springform pan with parchment paper and lightly grease the sides. This helps with easy release and a clean shape.
Step 2: Make the Red Velvet Base
In a large bowl, whisk together the dry ingredients: flour, cocoa powder, and baking soda. In another bowl, combine sugar, oil, eggs, buttermilk, vinegar, vanilla, and red food coloring. Gradually mix the wet ingredients into the dry until fully combined. Pour the batter into the pan and smooth the top.
Step 3: Prepare the Cheesecake Layer
In a separate bowl, beat the softened cream cheese until smooth. Add sugar and beat again until fluffy. Mix in eggs one at a time, followed by vanilla and sour cream. Pour this creamy mixture over the red velvet layer, spreading evenly.
Step 4: Bake
Bake for 45–55 minutes, or until the center is set but still slightly jiggly. Don’t worry—it’ll firm up as it cools. Let the cake cool completely at room temperature, then refrigerate for at least 4 hours or overnight.
Step 5: Decorate
Once chilled and set, run a knife around the edge of the pan and carefully remove the cheesecake. Top with whipped cream, chocolate shavings, or a dusting of powdered sugar for an extra-special touch.
Pro Tips for Making the Recipe
- Room Temperature Ingredients: Make sure your eggs and cream cheese are at room temperature—this helps create a smoother cheesecake with no lumps.
- Don’t Overmix the Cheesecake Batter: Overbeating adds air and can lead to cracks. Mix until just combined.
- Water Bath Optional: You can place the pan inside a water bath to reduce cracking, but it’s not essential for this recipe.
- Cool Gradually: Letting the cheesecake cool slowly in the oven with the door ajar can also help prevent cracks.
How to Serve
This dessert is already a showstopper, so let it shine! Here’s how to serve it best:
Garnish Ideas:
Top with fresh berries, whipped cream, or a drizzle of chocolate ganache for a luxurious finish.
Pair With:
Serve alongside a glass of dessert wine, a hot espresso, or even a scoop of vanilla ice cream to balance the richness.
Presentation Tip:
Slice with a hot knife (run it under hot water and wipe dry between cuts) for perfectly clean slices.
Make Ahead and Storage
Storing Leftovers
Wrap the cheesecake tightly or store it in an airtight container in the refrigerator. It stays fresh and flavorful for up to 5 days.
Freezing
Yes, you can freeze it! Wrap slices individually in plastic wrap, then in foil, and freeze for up to 2 months. Thaw in the fridge overnight before serving.
Reheating
No need to reheat—this cheesecake is best served chilled or at room temperature. Just let it sit out for 20–30 minutes before serving if stored in the fridge.
FAQs
Can I make this without a heart-shaped pan?
Absolutely. You can use a round springform pan or even an 8×8-inch square baking dish. The heart shape is fun, but the taste is the real star.
Can I use boxed red velvet cake mix?
You can in a pinch! Just prepare the mix as directed and pour it into your pan before adding the cheesecake layer. Homemade has more depth of flavor, but a mix will still taste great.
What’s the best way to avoid cracks in the cheesecake?
Use room temperature ingredients, avoid overmixing, and cool it gradually. A water bath helps too, but isn’t strictly necessary for this recipe.
Can I make this gluten-free?
Yes! Just substitute your favorite 1:1 gluten-free baking flour for the all-purpose flour. Make sure all other ingredients are certified gluten-free as well.
Final Thoughts
This Delicious Heart-Shaped Red Velvet Cheesecake is more than just a pretty dessert—it’s the perfect blend of rich flavors, creamy texture, and wow-factor presentation. Whether you’re baking for love, friendship, or your own sweet tooth, this recipe is sure to become a favorite. Give it a try and watch it disappear slice by slice!

Delicious Heart-Shaped Red Velvet Cheesecake Recipe
- Prep Time: 20 minutes
- Cook Time: 60 minutes
- Total Time: 6 hours (including cooling and chilling)
- Yield: 8 servings
- Category: Dessert
- Method: Baking
- Cuisine: American
- Diet: Vegetarian
Description
A romantic and decadent heart-shaped red velvet cheesecake with a velvety texture, rich flavor, and creamy cream cheese layer—perfect for special occasions like Valentine’s Day.
Ingredients
- 1 and 1/2 cups chocolate cookie crumbs
- 1/4 cup unsalted butter, melted
- 2 (8 oz) packages cream cheese, softened
- 3/4 cup granulated sugar
- 2 large eggs
- 1/3 cup sour cream
- 1/4 cup buttermilk
- 2 tbsp unsweetened cocoa powder
- 1 tsp vanilla extract
- 1 tsp white vinegar
- 1 tbsp red food coloring
- Pinch of salt
Instructions
- Preheat the oven to 325°F (163°C). Grease and line a heart-shaped springform pan with parchment paper.
- In a bowl, combine chocolate cookie crumbs and melted butter. Press mixture into the bottom of the pan to form the crust. Bake for 10 minutes and let cool.
- In a large bowl, beat cream cheese until smooth. Add sugar and continue beating until fluffy.
- Add eggs one at a time, mixing well after each addition.
- Mix in sour cream, buttermilk, cocoa powder, vanilla extract, vinegar, red food coloring, and salt until fully incorporated.
- Pour the batter over the cooled crust and smooth the top.
- Bake for 50-60 minutes or until the center is set but slightly jiggly.
- Turn off the oven, crack the door, and let the cheesecake cool in the oven for 1 hour.
- Refrigerate for at least 4 hours or overnight before serving.
- Optionally, top with whipped cream or chocolate drizzle before serving.
Notes
- Ensure all ingredients are at room temperature for a smoother batter.
- You can substitute chocolate cookie crumbs with graham cracker crumbs if preferred.
- A water bath can help prevent cracks in the cheesecake.