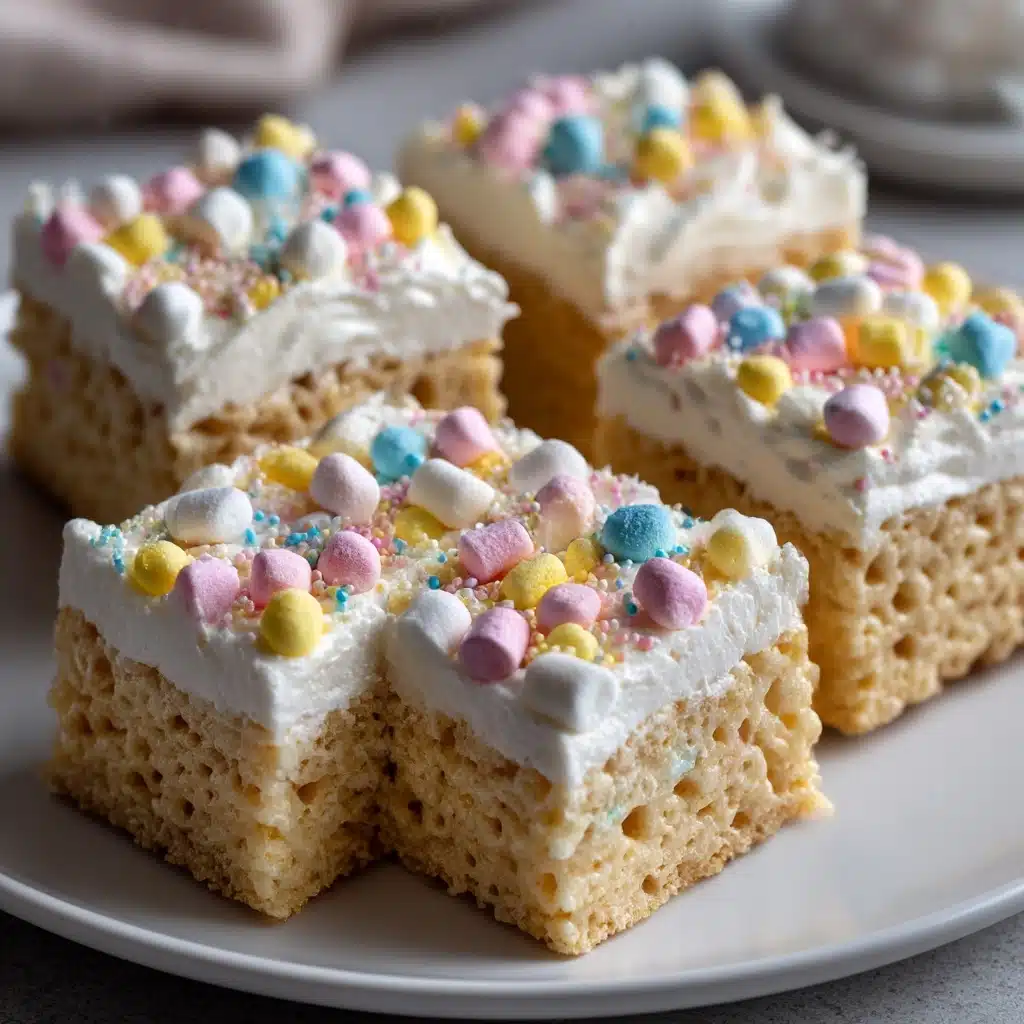
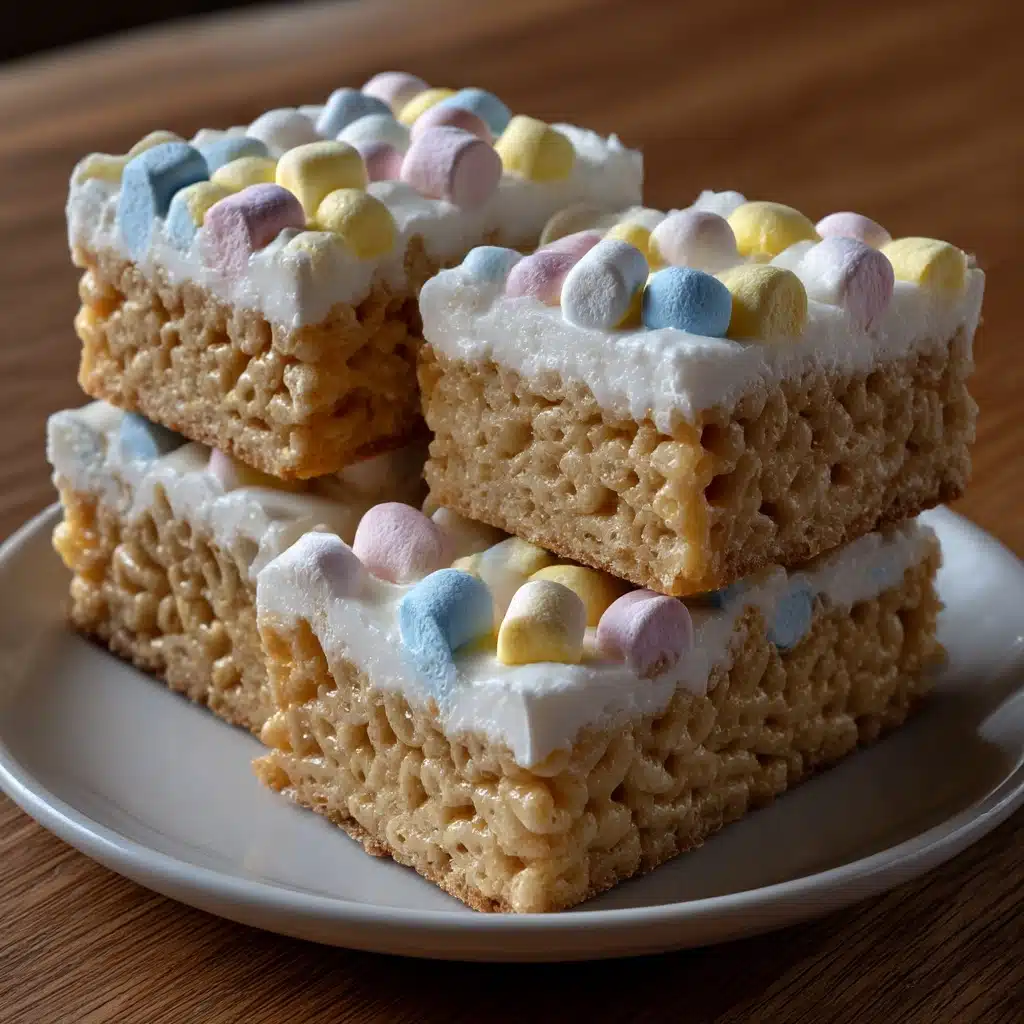
If you’re on the hunt for the perfect festive treat, look no further than these Easter Egg Krispies Nests. Delightfully chewy, full of buttery marshmallow flavor, and bursting with pastel candy eggs, each nest is a whimsical, edible basket sure to steal the show at any springtime gathering. Not only are these sweet little nests adorable, they’re also incredibly easy to make and guaranteed to put a smile on everyone’s face—kids and adults alike. The Easter Egg Krispies Nests are a true celebration of both taste and creativity, blending nostalgia with a burst of playful color.
Ingredients You’ll Need
You won’t believe how just a handful of everyday pantry staples can come together to create such a magical treat. Each of these ingredients is essential for the texture, flavor, or festive look that makes Easter Egg Krispies Nests unforgettable.
- Rice Krispies cereal: The crispy, airy base forms the sturdy yet tender nests that hold their shape so well.
- Mini marshmallows: These create the gooey, sweet glue binding everything together and adding that signature chew.
- Unsalted butter: Melted butter adds a rich, indulgent touch and keeps the mixture soft and luscious.
- Vanilla extract: Just a splash enhances the sweetness and gives depth to the marshmallow flavor.
- Pinch of salt: Balances out the sweetness and makes all the flavors pop.
- Mini candy-coated chocolate eggs: These colorful eggs bring the nests to life with a crunchy surprise and lovely pastel hues.
- Cooking spray or additional butter: For greasing your hands and muffin tin, so the Krispies mixture releases easily and shapes beautifully.
How to Make Easter Egg Krispies Nests
Step 1: Prepare Your Muffin Tin
Start by lightly greasing a standard muffin tin with either cooking spray or a thin layer of butter. This crucial step makes sure your nests pop out perfectly without sticking, so you’re not battling to get them out later. Set the prepared tin aside while you prep the rest.
Step 2: Melt Butter and Marshmallows
In a large saucepan set over low heat, melt your unsalted butter until fully liquified. Add in the mini marshmallows, stirring constantly until they melt into a smooth, glossy pool. Once melted, remove from heat and immediately stir in the vanilla extract and a pinch of salt—these additions really round out the flavors.
Step 3: Mix in the Cereal
Pour your Rice Krispies cereal into the warm marshmallow mixture and work quickly to coat every crispy grain. The mixture should look shiny and stretchy, holding together but still scoopable. If it starts to set, don’t worry—a bit of extra elbow grease always helps!
Step 4: Form the Nests
With freshly greased hands, scoop generous spoonfuls of the mixture into the prepared muffin tin. Gently press down in the center of each to form a little well—that’s where the Easter egg candies will nestle. Work fast before it cools, and don’t fret if they’re not perfectly symmetrical. The rustic look just adds to their charm!
Step 5: Decorate with Easter Eggs
While the nests are still a bit soft, carefully place 2–3 mini candy-coated chocolate eggs in each well. As the nests cool, the eggs settle in and stay put, looking like the most festive little “bird eggs” imaginable. Let them set at room temperature for about 30 minutes before removing from the tin.
How to Serve Easter Egg Krispies Nests

Garnishes
For an extra flourish, lightly dust your Easter Egg Krispies Nests with powdered sugar for a “freshly fallen snow” effect, or sprinkle a few edible glitter flakes for a touch of sparkle. You can even add mini edible flowers or shredded coconut to mimic a true nest.
Side Dishes
Pair these sweet nests with a big bowl of fresh fruit salad or a platter of your favorite springtime cookies to balance their sweetness. They’re also delightful with a cup of tea, coffee, or even a brightly colored punch—making them right at home on a dessert buffet or at an Easter brunch.
Creative Ways to Present
For a show-stopping display, arrange the Easter Egg Krispies Nests on a bed of artificial grass in a shallow basket to create an Easter “garden.” You can also package individual nests in clear treat bags tied with pastel ribbons, making thoughtful gifts for teachers, neighbors, or party guests.
Make Ahead and Storage
Storing Leftovers
Store any leftover nests in an airtight container at room temperature. They’ll stay deliciously chewy and fresh for up to 3 days, though they rarely last that long! For best results, separate layers with parchment paper to prevent sticking.
Freezing
If you’d like to make your Easter Egg Krispies Nests ahead of time, you can freeze them. Wrap each nest tightly in plastic wrap and store them in a freezer-safe bag for up to one month. Let them come to room temperature before serving to bring back their chewy texture.
Reheating
While these treats don’t really need reheating, if you find your nests a bit firmer than you like, just pop them in the microwave—one at a time—for about 5 to 10 seconds. This will gently soften the marshmallow and refresh their texture.
FAQs
Can I use different cereals instead of Rice Krispies?
Absolutely! While Rice Krispies are classic for their neutral crunch, you could try Cocoa Krispies for a chocolatey twist or even cornflakes for a rustic look. Just keep the cereal pieces small so the nests hold together well.
What’s the best way to keep the mixture from sticking to my hands?
Lightly grease your hands with butter or cooking spray before shaping the nests. This will prevent sticky marshmallow from clinging to your fingers and help you form perfect little wells for each nest.
Can I make these Easter Egg Krispies Nests in advance?
Yes! These nests are ideal for making a day or two ahead of time. Store them in an airtight container, and they’ll stay soft and tasty until your big celebration. Just be sure to add the candy eggs when the nests are still warm to help them stick.
What can I substitute for marshmallows if someone is allergic?
If marshmallows are off-limits, you can experiment with homemade marshmallow alternatives or use melted white chocolate and honey as a binder. The flavor and texture will change a bit, but it’s a fun option for those with dietary needs.
How can I get kids involved in making Easter Egg Krispies Nests?
This recipe is super kid-friendly! Little ones can help press the mixture into the muffin tin and, best of all, decorate each nest with colorful eggs. It turns snack time into a delightful arts-and-crafts project.
Final Thoughts
I can’t recommend these Easter Egg Krispies Nests enough—each bite is pure, nostalgic joy wrapped in a playful, pretty package. Whether you’re making them with kids, gifting them to friends, or serving them as part of your spring spread, these cheerful treats are guaranteed to bring smiles. Gather your ingredients and let the fun (and snacking) begin!
Print
Easter Egg Krispies Nests Recipe
- Prep Time: 15 minutes
- Cook Time: 10 minutes
- Total Time: 25 minutes
- Yield: 12 nests
- Category: Dessert
- Method: Baking
- Cuisine: American
- Diet: Vegetarian
Description
These adorable Easter Egg Krispies Nests are a fun and festive treat perfect for springtime. Made with crispy rice cereal, marshmallows, and candy eggs, these cute nests are a delightful addition to any Easter celebration.
Ingredients
For the Krispie Nests:
- 4 cups crispy rice cereal
- 3 tbsp butter
- 1 package (10 oz) marshmallows
For Decorations:
- Mini candy-coated chocolate eggs
- Green food coloring
- Cooking spray
Instructions
- Prepare Krispie Nests: In a large saucepan, melt the butter over low heat. Add the marshmallows and stir until completely melted. Remove from heat and gently fold in the crispy rice cereal until well coated.
- Form Nests: Lightly spray a muffin tin with cooking spray. Using a greased spoon, fill each muffin cup with the Krispie mixture, pressing the center to form a nest shape. Let cool for 10 minutes.
- Add Decorations: Once the nests have set, place a few mini candy eggs in the center of each nest. Tint some of the Krispie mixture with green food coloring and shape into small leaves to place next to the eggs.
Notes
- You can get creative with different colored candy eggs for a more vibrant display.
- Store any leftovers in an airtight container at room temperature.


