If you have a sweet tooth and love the classic combination of rich chocolate and creamy ice cream, then you are absolutely going to adore this Homemade Delicious Chocolate Ice Cream Bars Recipe. It’s a delightful way to enjoy refreshing frozen treats right at home without needing an ice cream maker. Creamy, velvety chocolate ice cream coated in a shiny, crisp chocolate shell offers a satisfying texture with every bite. These bars are perfect for warm days, special occasions, or whenever you want to treat yourself to an irresistible dessert that tastes like it came from a fancy shop but made with your own loving hands.

Ingredients You’ll Need
Getting started with this recipe is a breeze because it uses simple, wholesome ingredients that come together to create that perfect creamy texture, deep chocolate flavor, and smooth finish. Each element has its own important role in making these ice cream bars taste extraordinary.
- Heavy cream (2 cups): This adds the rich creaminess and luscious body that makes the ice cream bars so indulgent.
- Whole milk (1 cup): Provides balance and helps achieve that silky texture without being too heavy.
- Granulated sugar (¾ cup): Sweetens the ice cream while enhancing the chocolate flavor and improving freeze consistency.
- Unsweetened cocoa powder (½ cup): Brings the deep, chocolatey richness that’s the star of the show.
- Vanilla extract (1 teaspoon): Adds warmth and depth, rounding out the chocolate’s boldness.
- Salt (¼ teaspoon): Enhances all the flavors, making each bite more vibrant.
- Semisweet chocolate chips (2 cups): The main component for the chocolate coating, delivering a perfect chocolate crunch.
- Coconut oil (2 tablespoons): Helps the chocolate coating set with a glossy finish and perfect snap.
How to Make Homemade Delicious Chocolate Ice Cream Bars Recipe
Step 1: Prepare the Chocolate Ice Cream Base
Start by combining the heavy cream, whole milk, sugar, cocoa powder, vanilla extract, and salt in a medium saucepan over medium heat. Whisk continuously to blend everything smoothly. Keep heating until the sugar has completely dissolved and the cocoa powder is fully incorporated, about five minutes. Be careful not to let the mixture boil, which could affect the texture of your ice cream. Once ready, remove from heat and allow it to cool down to room temperature so it’s ready for freezing.
Step 2: Freeze the Ice Cream in Molds
Pour your cooled chocolate ice cream mixture evenly into ice pop molds and insert sticks for easy handling later. Place the molds in the freezer and let them freeze solid, which usually takes at least six hours or overnight if you want to be sure they’re completely set.
Step 3: Create the Chocolate Coating
While your bars are freezing, get the coating ready by melting the semisweet chocolate chips together with the coconut oil. The best method is microwaving in 30-second intervals, stirring well each time until the mixture is smooth and glossy. Let the coating cool slightly so it thickens enough to cling to the ice cream bars without dripping excessively, but still remains pourable.
Step 4: Dip and Set the Ice Cream Bars
Once your ice cream bars have hardened, it’s time for the fun part. Remove them carefully from the molds and quickly dip each bar into the chocolate coating, covering all sides. You can also spoon the chocolate over the bars if that’s easier. Let any excess coating drip off before placing the bars on a baking sheet lined with parchment paper. Pop them back into the freezer for another 15 to 20 minutes to allow the chocolate to set perfectly.
How to Serve Homemade Delicious Chocolate Ice Cream Bars Recipe
Garnishes
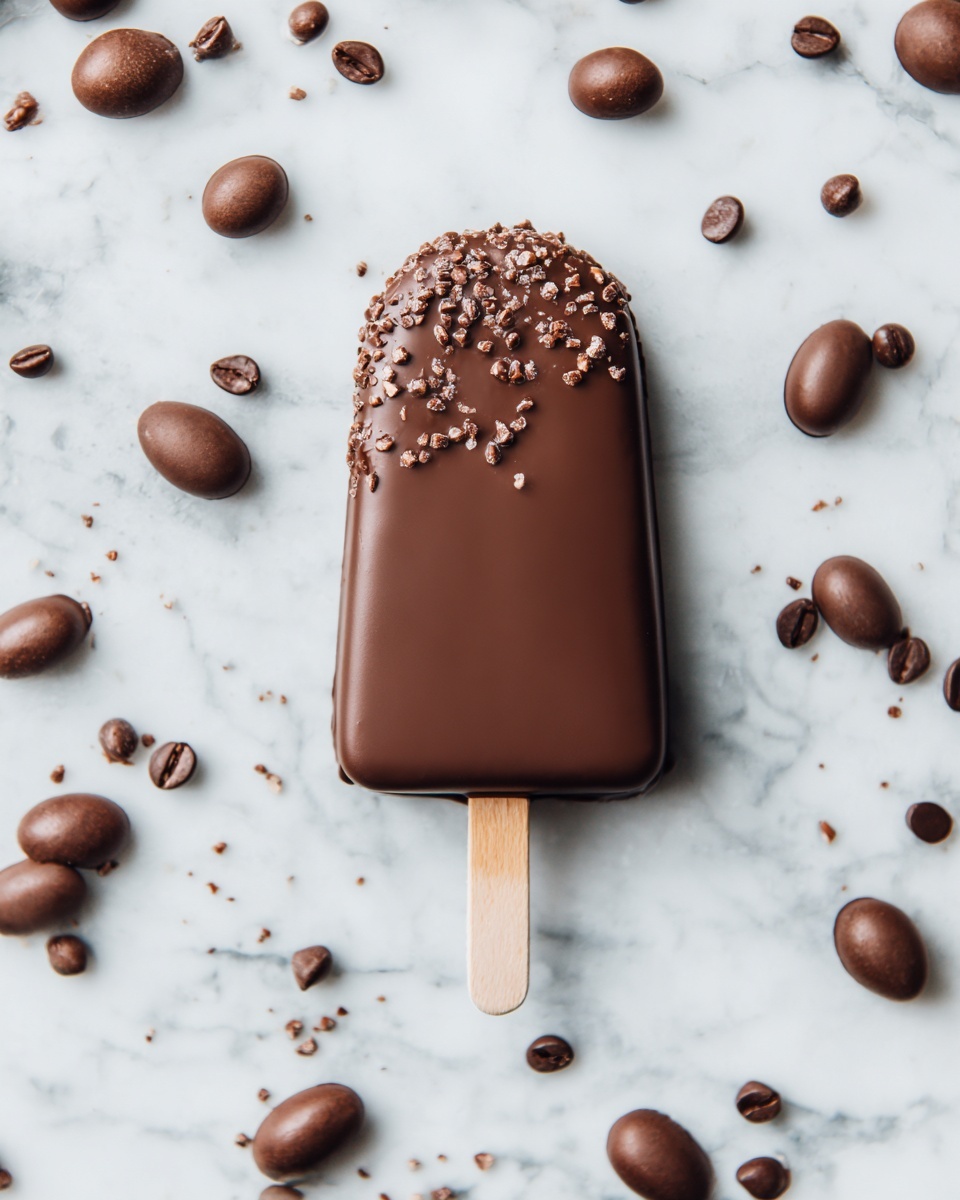
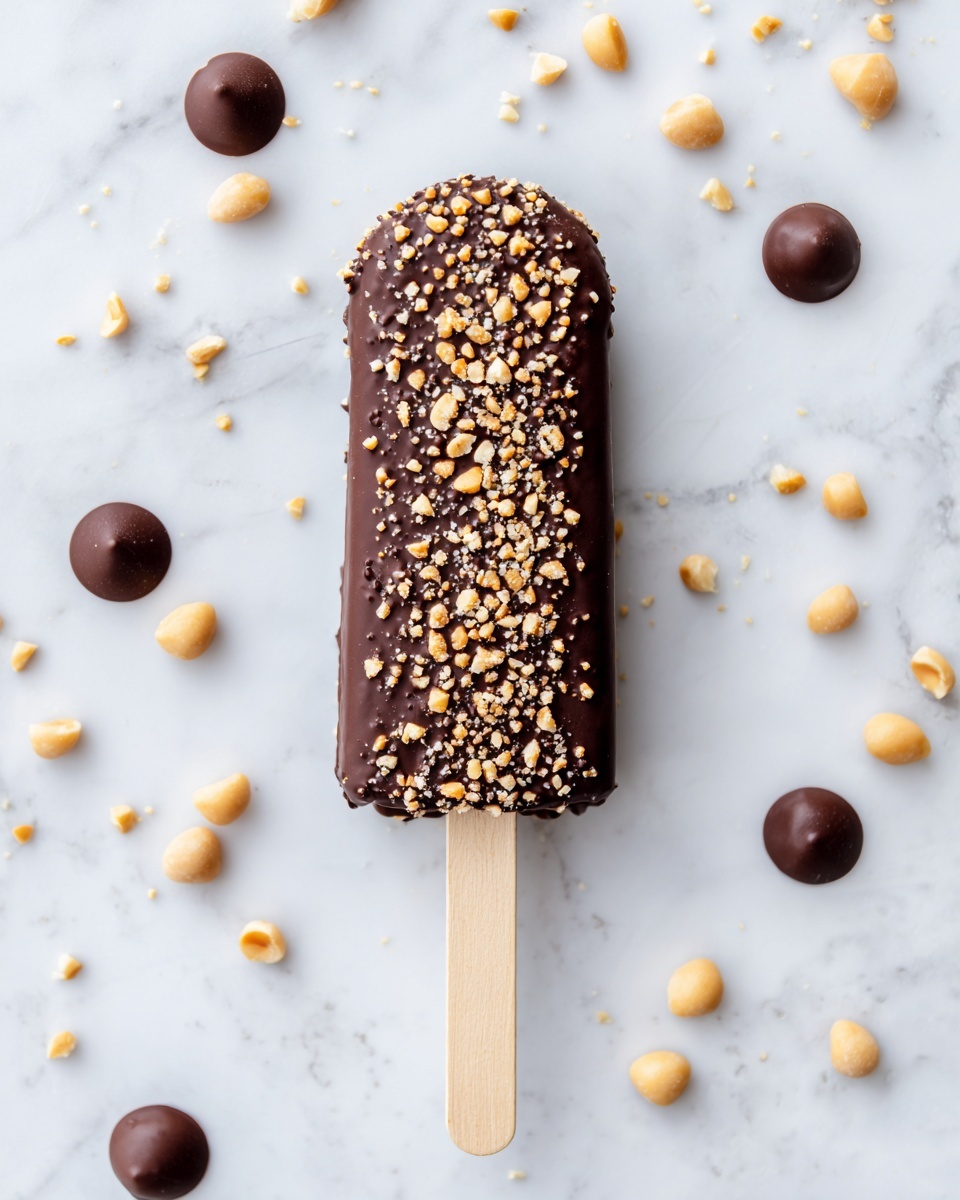
Adding garnishes can elevate your Homemade Delicious Chocolate Ice Cream Bars Recipe to another level of deliciousness. Just after dipping, sprinkle chopped nuts like almonds or pecans, crushed cookies, or even shredded coconut on top of the chocolate coating for added crunch and flavor. They not only add texture but also make the bars look extra tempting!
Side Dishes
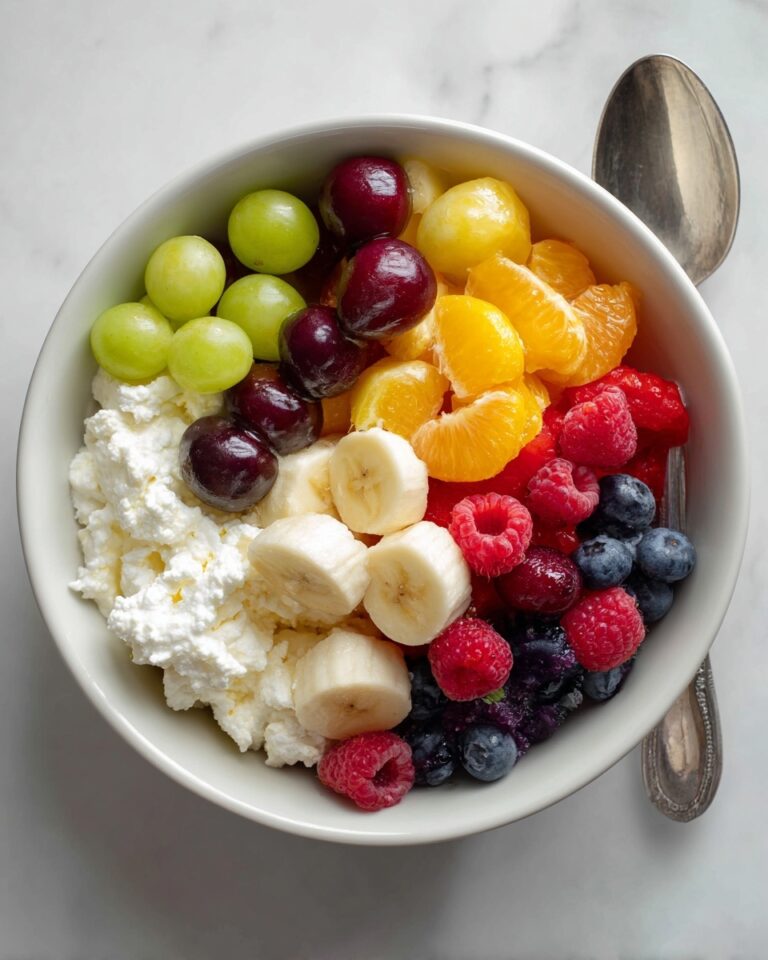
These ice cream bars stand wonderfully on their own, but you can also create a dessert platter with fresh berries, warm brownies, or a drizzle of caramel sauce to complement the chocolatey goodness. Light, fruity salads or even a scoop of vanilla bean ice cream make delightful companions that balance richness with a refreshing contrast.
Creative Ways to Present
For a party or special treat, consider serving these bars on a bed of crushed ice filled with fresh mint leaves or edible flowers for a stunning presentation. You can double-dip them for a thicker chocolate shell or drizzle white chocolate over the dark chocolate coating for an elegant look. Wrapping individual bars in parchment paper tied with cute twine offers a charming presentation if you want to share them as gifts!
Make Ahead and Storage
Storing Leftovers
If you’re lucky enough to have any leftovers, store these Homemade Delicious Chocolate Ice Cream Bars in an airtight container to protect them from freezer burn and absorbing other odors. Keep them frozen until ready to enjoy again, so they maintain their creamy texture and crisp coating.
Freezing
These bars freeze beautifully. After preparing and shaping them with the chocolate coating, place them in a single layer on a baking sheet in the freezer until set. Then transfer them to a freezer-safe container or ziplock bag for long-term storage. They’ll stay fresh and delicious for up to two weeks.
Reheating
Since these are frozen treats, reheating is not necessary. However, if your bars get too hard after freezing, let them sit at room temperature for a few minutes before eating to soften slightly and release their full flavor and creaminess without melting.
FAQs
Can I use a different type of milk instead of whole milk?
Yes, you can substitute whole milk with 2% or even almond milk for a lighter version. However, whole milk contributes to the creamy texture, so keep in mind it might slightly alter the mouthfeel.
What if I don’t have ice pop molds?
You can use small paper cups and insert wooden sticks once partially frozen, or try silicone muffin cups as an alternative for molding your ice cream bars.
Can I make these bars vegan?
To make this Homemade Delicious Chocolate Ice Cream Bars Recipe vegan, replace heavy cream and milk with coconut milk or almond milk creamers, use vegan chocolate chips, and ensure vanilla extract is vegan-friendly. The texture may vary a bit but still tasty!
How do I prevent the chocolate coating from cracking?
Adding coconut oil to the melted chocolate helps create a smooth and stable coating that hardens with a nice snap but is less likely to crack when biting into it.
Can I add mix-ins to the ice cream base?
Absolutely! Small bits of chocolate chips, nuts, or even swirls of caramel can be folded into the base before freezing for added flavor and texture without compromising the smoothness.
Final Thoughts
There is something truly magical about making your own frozen treats at home, especially with a recipe as luscious as this Homemade Delicious Chocolate Ice Cream Bars Recipe. It brings together the satisfaction of melting chocolate, the creaminess of homemade ice cream, and the joy of sharing a delicious dessert with friends and family. Don’t wait for a special occasion—grab the ingredients, follow these simple steps, and treat yourself to a dessert experience that’s as fun to make as it is to eat!
Print
Homemade Delicious Chocolate Ice Cream Bars Recipe
- Prep Time: 20 minutes
- Cook Time: 5 minutes
- Total Time: 25 minutes (plus freezing time)
- Yield: 8 bars
- Category: Dessert
- Method: Freezing
- Cuisine: American
- Diet: Gluten Free, Vegetarian
Description
These Homemade Delicious Chocolate Ice Cream Bars are a creamy, rich frozen treat coated in smooth semisweet chocolate. Perfect for summer, they combine the flavors of chocolate ice cream and a crisp chocolate shell, made easily at home with simple ingredients and no ice cream machine required.
Ingredients
Ice Cream Base
- 2 cups heavy cream
- 1 cup whole milk
- ¾ cup granulated sugar
- ½ cup unsweetened cocoa powder
- 1 teaspoon vanilla extract
- ¼ teaspoon salt
Chocolate Coating
- 2 cups semisweet chocolate chips
- 2 tablespoons coconut oil
Instructions
- Prepare the Ice Cream Mixture: In a medium saucepan over medium heat, whisk together the heavy cream, whole milk, granulated sugar, unsweetened cocoa powder, vanilla extract, and salt. Heat the mixture for about 5 minutes, stirring constantly, until the sugar is fully dissolved and the cocoa powder is well incorporated. Be careful not to let it boil.
- Cool the Mixture: Remove the saucepan from heat and allow the mixture to cool to room temperature before proceeding. This ensures the mixture sets properly when frozen.
- Freeze in Molds: Pour the cooled chocolate ice cream mixture into ice pop molds, then insert sticks into each mold. Place the molds in the freezer and freeze for at least 6 hours, or until completely solid.
- Melt the Chocolate Coating: In a microwave-safe bowl, combine the semisweet chocolate chips and coconut oil. Heat in 30-second intervals, stirring thoroughly between each, until the mixture is smooth and fully melted. Allow it to cool slightly but remain pourable for dipping.
- Coat the Ice Cream Bars: Once the bars are frozen solid, carefully remove them from the molds. Quickly dip each bar into the melted chocolate coating or spoon the chocolate over the bars, allowing any excess to drip off.
- Set the Coating: Place the coated bars on a parchment-lined baking sheet and return them to the freezer for 15–20 minutes to let the chocolate shell harden.
Notes
- For extra texture and flavor, sprinkle chopped nuts, crushed cookies, or shredded coconut on the dipped bars before the chocolate coating sets.
- Use silicone molds to make it easier to release the ice cream bars.
- Store the finished chocolate ice cream bars in an airtight container in the freezer for up to 2 weeks.


