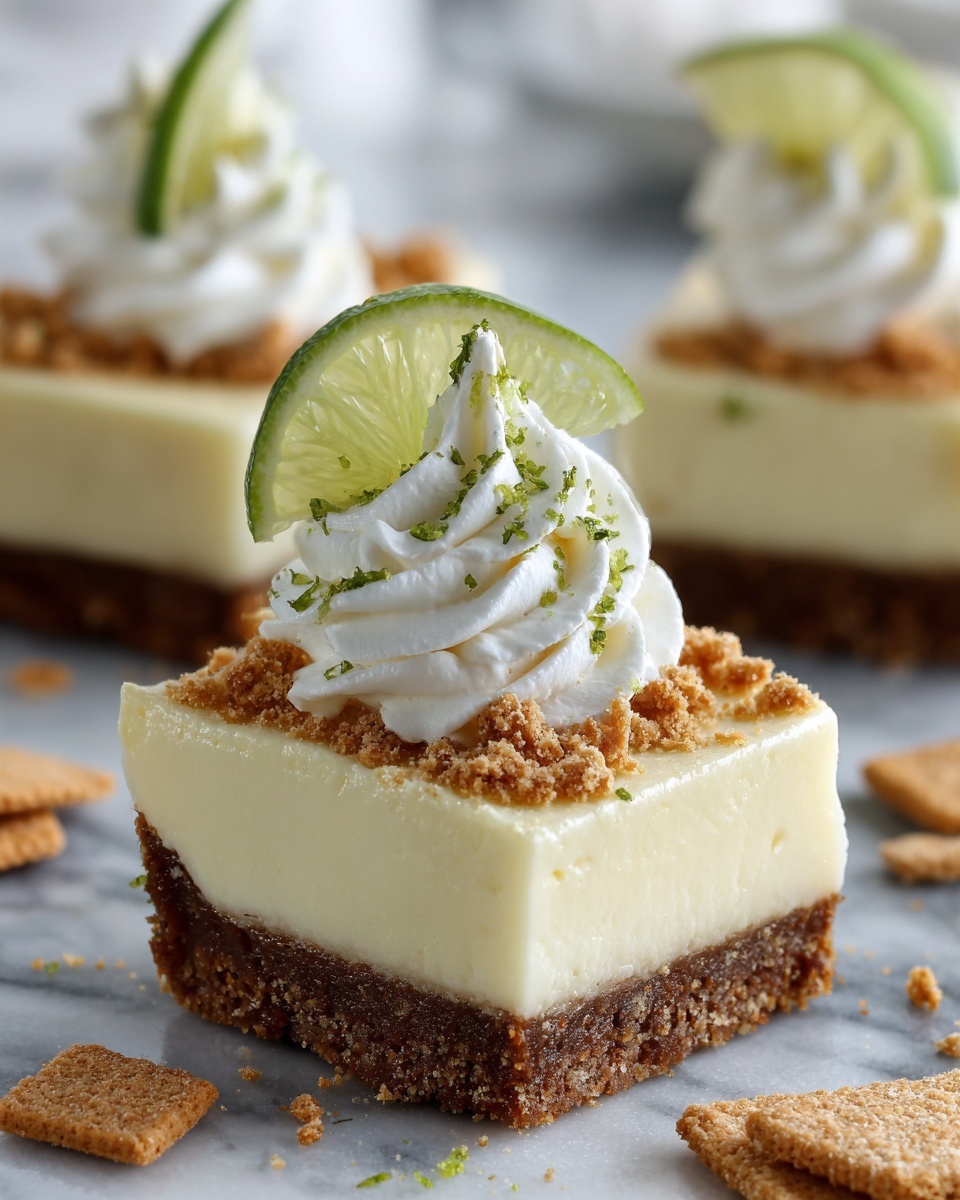
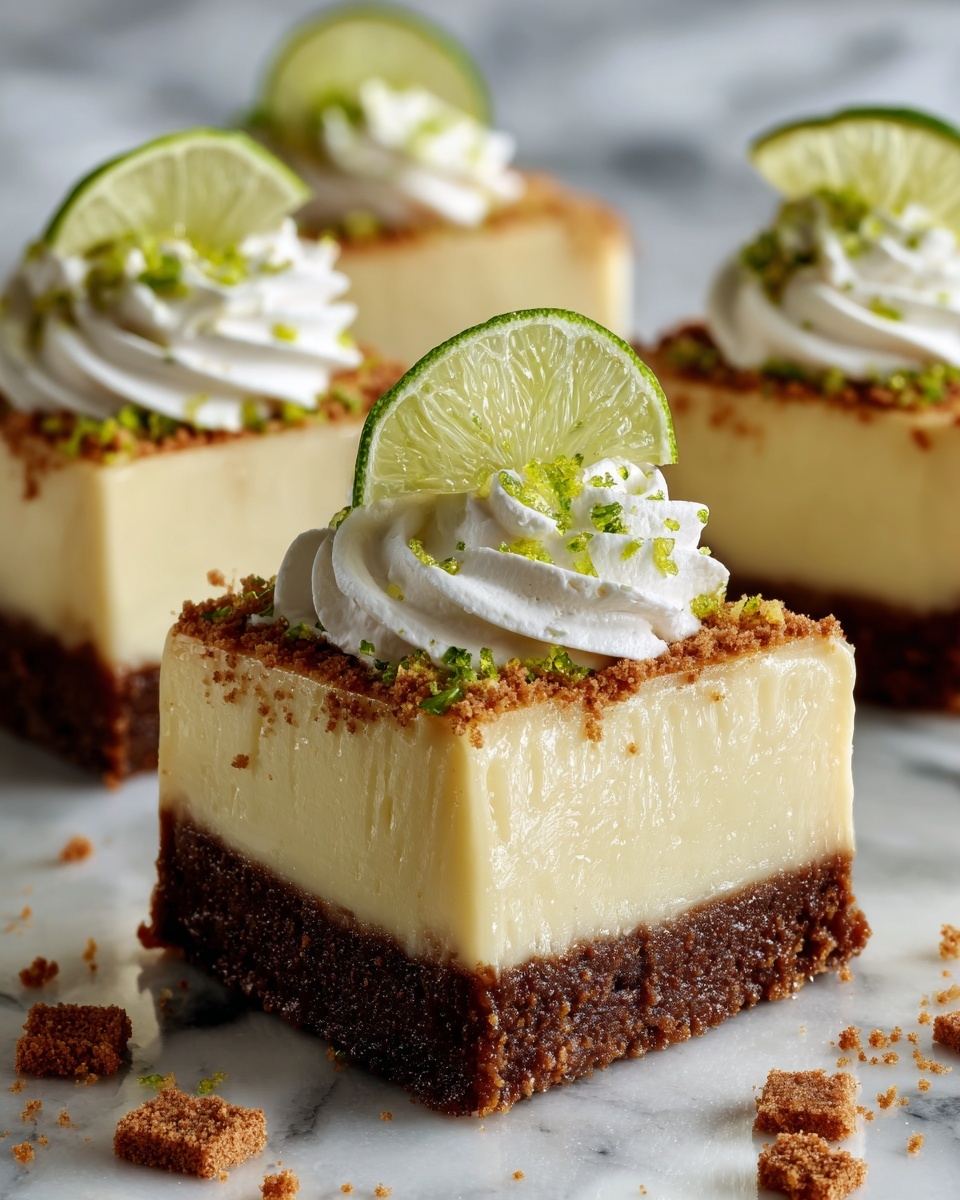
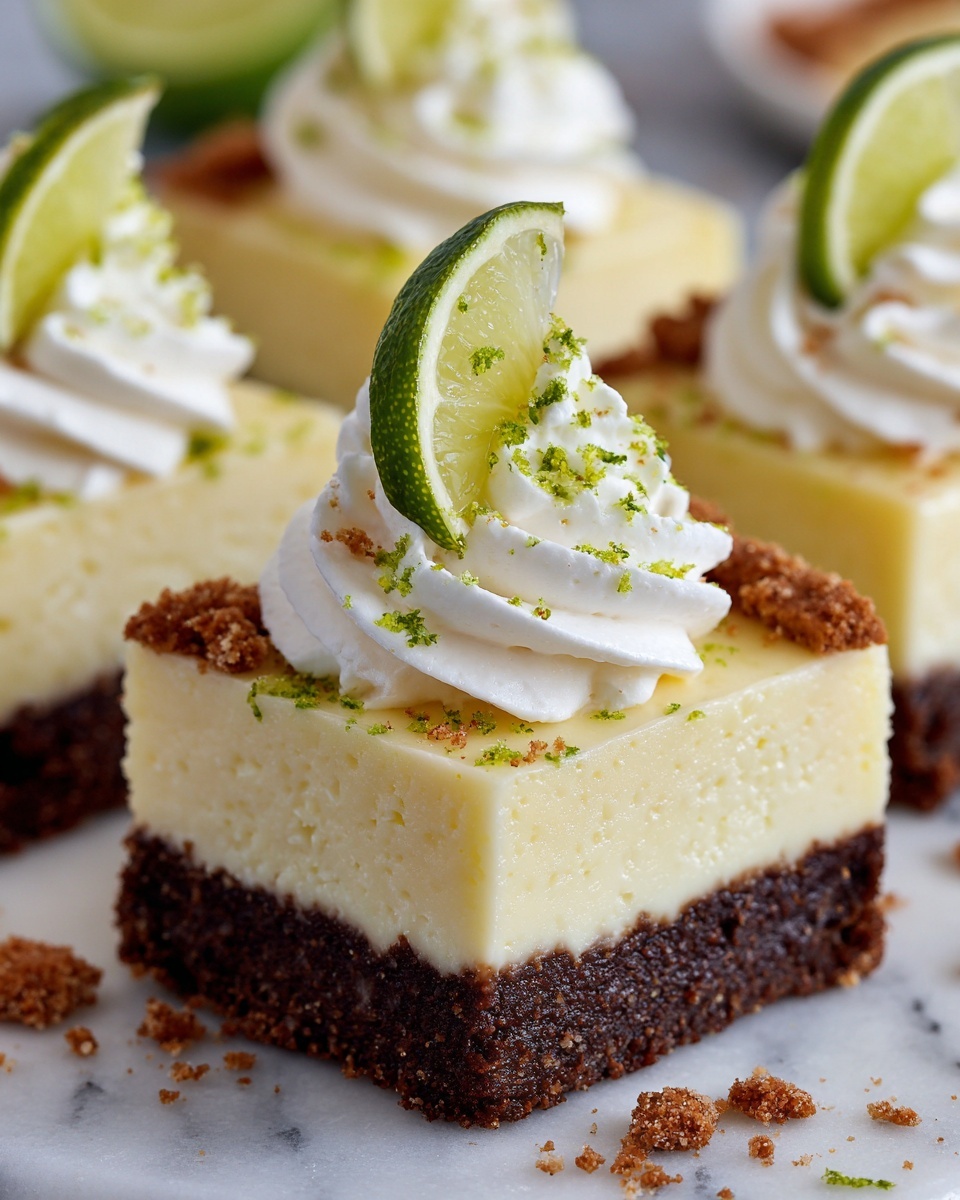
If you’re searching for a refreshingly tangy yet sweet dessert that’s easy to make and a guaranteed crowd-pleaser, I’m so excited to share this Key Lime Pie Bars Recipe with you! These bars capture all the zesty brightness of classic key lime pie but in a fun, portable bar form that’s perfect for picnics, potlucks, or just treating yourself at home. With a crisp graham cracker crust and a velvety, lime-infused filling, every bite feels like a tropical escape that’s simply irresistible.
Ingredients You’ll Need
These ingredients are wonderfully straightforward but absolutely essential to achieving the perfect balance of flavors and textures. Each component plays its role in creating that dreamy, creamy, and slightly tangy filling paired with a buttery, crunchy crust.
- Graham cracker crumbs (1 cup): The base of your crust, providing a subtly sweet and crunchy foundation that contrasts beautifully with the creamy topping.
- Sugar (1/4 cup): Adds just the right amount of sweetness to the crust to complement the tart lime flavor.
- Unsalted butter, melted (1/4 cup): Binds the crust ingredients together while adding richness and a toasty flavor.
- Sweetened condensed milk (2 cups): The star ingredient for that luscious, silky texture and sweetness in the filling.
- Fresh lime juice (1/2 cup): Brings in the authentic, bright key lime tang that makes this dessert sing.
- Lime zest (1 tbsp): Packs a punch of fragrant citrus oils that deepen the lime flavor beyond just the juice.
- Large eggs (2): Help set the filling with a smooth, custard-like consistency that holds firm when baked.
How to Make Key Lime Pie Bars Recipe
Step 1: Prep Your Pan and Crust
Start by preheating your oven to 350°F (175°C), and grease an 8×8-inch or 9×9-inch baking dish. This ensures your bars won’t stick and will come out in perfect squares. Next, combine the graham cracker crumbs, sugar, and melted butter in a bowl. Stir well until the mixture looks like wet sand, then press it firmly and evenly into the bottom of your prepared dish. This step is key to a sturdy crust that holds up beautifully beneath the filling.
Step 2: Whisk Together the Filling
In a clean bowl, whisk the sweetened condensed milk, fresh lime juice, lime zest, and eggs together until you have a smooth, creamy mixture. The fresh lime juice and zest bring a lovely brightness that perfectly balances the sweetness from the milk and eggs. Make sure everything is fully combined so your filling bakes evenly and has that perfect silky texture.
Step 3: Assemble and Bake
Pour your lime filling over the prepared crust and spread it out evenly with a spatula. Pop the dish into the oven and bake for about 15 to 20 minutes. You’ll know it’s done when the center is set and doesn’t jiggle when you gently shake the pan. Avoid overbaking to keep the filling creamy rather than dry.
Step 4: Cool and Chill
Once baked, allow your Key Lime Pie Bars to cool to room temperature. This helps them firm up gradually. Then, transfer the dish to the refrigerator and chill for at least 2 hours. This chilling step is essential for the bars to fully set and develop that refreshing tangy flavor we all adore.
How to Serve Key Lime Pie Bars Recipe
Garnishes
To elevate your Key Lime Pie Bars, sprinkle some additional lime zest on top, or add a dollop of whipped cream for extra creaminess. Toasted coconut flakes or thin lime slices also bring a lovely decorative touch and a complementary texture that guests will notice and appreciate.
Side Dishes
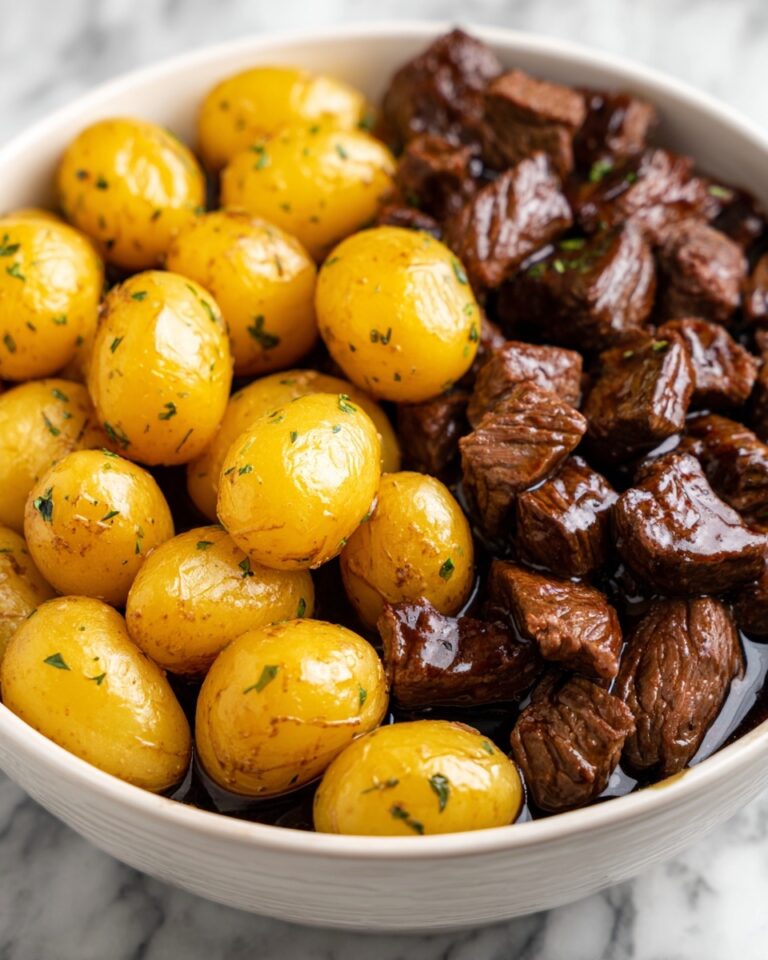
These bars are such a delicious treat on their own but pairing them with fresh berries or a fruit salad adds a juicy contrast to the tart lime flavor. A scoop of vanilla ice cream served alongside warms up the dessert experience with its cool and creamy balance.
Creative Ways to Present
For a festive touch, try serving your Key Lime Pie Bars in mini mason jars layered with whipped cream for a grab-and-go dessert. You can also cut them into smaller, bite-sized squares and arrange on a pretty platter with mint leaves for an elegant party platter that’s sure to wow.
Make Ahead and Storage
Storing Leftovers
Leftover bars should be stored in an airtight container in the refrigerator for up to 4 days. The bars actually taste even better the next day as the flavors meld, making for a perfect make-ahead dessert.
Freezing
You can freeze Key Lime Pie Bars by wrapping each bar individually in plastic wrap, then storing them in a freezer bag for up to 2 months. Thaw in the fridge overnight before serving, and they’ll taste just like freshly made!
Reheating
These bars are best enjoyed chilled, but if you prefer them slightly softer, just bring them to room temperature for 15–20 minutes. Avoid microwaving to maintain their texture and flavor.
FAQs
Can I use bottled lime juice instead of fresh?
While bottled lime juice can work in a pinch, fresh lime juice is highly recommended for the freshest, brightest flavor that really makes the Key Lime Pie Bars Recipe stand out.
What kind of graham crackers should I use?
Plain graham cracker crumbs are ideal as they provide a neutral base with subtle sweetness. You can crush whole crackers yourself or buy pre-made crumbs for convenience.
Can I make this recipe gluten-free?
Absolutely! Simply swap the graham cracker crumbs for gluten-free graham crackers or gluten-free cookie crumbs to keep the crust safe for gluten-sensitive eaters.
How long do I need to chill the bars before serving?
For best results, chill the bars for at least 2 hours. This ensures they set properly and the flavors fully develop, giving you that iconic tart and creamy texture.
Can I double the recipe?
Yes, doubling the ingredients and using a larger pan works great if you’re serving a crowd. Just keep an eye on your baking time, as it might need a few extra minutes to set fully.
Final Thoughts
There’s something truly special about making dessert that’s both effortless and packed with flavor, and this Key Lime Pie Bars Recipe hits every note perfectly. I hope you’ll give it a try soon—whether for a family gathering, a sunny afternoon treat, or just because you deserve a little slice of citrusy heaven. Get ready to fall in love with these bars that deliver all the zing and sweetness you could want, wrapped up in a buttery crust that’s pure comfort.
Print
Key Lime Pie Bars Recipe
- Prep Time: 15 minutes
- Cook Time: 15-20 minutes
- Total Time: 2 hours 35 minutes
- Yield: 16 servings
- Category: Dessert
- Method: Baking
- Cuisine: American
Description
These Key Lime Pie Bars combine a crisp graham cracker crust with a tangy, creamy lime filling. Perfectly balanced between sweet and tart, they make a refreshing dessert that’s easy to prepare and ideal for any occasion.
Ingredients
For the Crust
- 1 cup graham cracker crumbs
- 1/4 cup sugar
- 1/4 cup unsalted butter, melted
For the Filling
- 2 cups sweetened condensed milk
- 1/2 cup fresh lime juice
- 1 tbsp lime zest
- 2 large eggs
Instructions
- Preheat oven and prepare dish: Preheat your oven to 350°F (175°C) and grease an 8×8-inch or 9×9-inch baking dish to prevent sticking and ensure easy removal of the bars.
- Make the crust: In a bowl, combine the graham cracker crumbs, sugar, and melted butter. Mix thoroughly until the ingredients are well combined, then press the mixture firmly into the bottom of the prepared baking dish forming an even crust layer.
- Prepare the filling: In a separate bowl, whisk together the sweetened condensed milk, fresh lime juice, lime zest, and eggs until smooth and fully incorporated, ensuring no lumps remain.
- Assemble the bars: Pour the lime filling mixture over the prepared crust and spread it evenly across the surface using a spatula or spoon.
- Bake the bars: Place the baking dish in the preheated oven and bake for 15-20 minutes, or until the center is set and no longer jiggles when gently shaken, indicating it is fully cooked.
- Cool and chill: Remove the bars from the oven and allow them to cool to room temperature. After cooling, refrigerate the bars for at least 2 hours to firm up and enhance the flavors before slicing and serving.
Notes
- Use fresh lime juice and zest for the best flavor; bottled juice may alter the taste.
- Ensure the bars are fully chilled before cutting to get clean slices.
- For easier slicing, warm the knife slightly before cutting the bars.
- Store leftover bars covered in the refrigerator for up to 3 days.
- You can substitute the graham cracker crust with digestive biscuits if preferred.

